
How to Photograph Items for Online Sales Using Natural Light
October 22, 2026
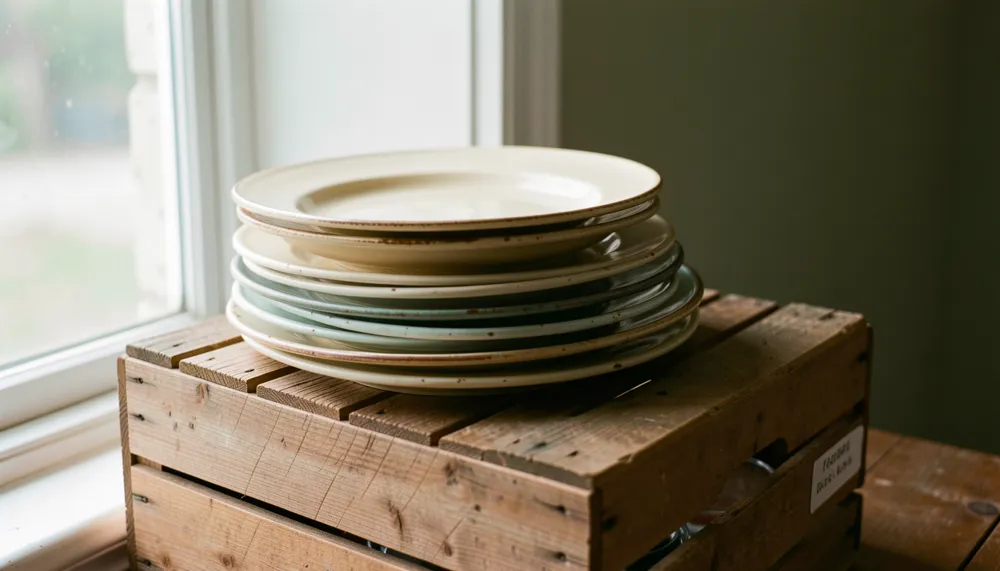
Photographing items for online sales does not require expensive studio equipment or complex lighting setups. In fact, natural light is often the most effective tool for creating clear, honest, and appealing images that help buyers understand exactly what they are purchasing. Whether you are selling handmade crafts, vintage clothing, electronics, or household goods, mastering the use of daylight can significantly improve your listing quality. This guide provides straightforward techniques to help you capture high-quality images using sunlight, ensuring your products look their best regardless of your location or budget.
Understanding the Basics of Natural Light
Natural light is dynamic and changes throughout the day, which can be both an advantage and a challenge. The goal is to harness this light to illuminate your subject evenly, minimizing harsh shadows and color casts. Unlike artificial lighting, which can sometimes render colors inaccurately depending on the bulb type, sunlight generally provides a balanced spectrum that represents true colors well. However, because the intensity and direction of the sun change with the time of day and weather conditions, consistency is key. You should aim to find a spot in your home or workspace where indirect sunlight is available for a consistent period. This might be near a large window facing north or south, depending on your hemisphere and local climate patterns. Observing how light moves across your space during different hours will help you identify the best time for shooting.
Choosing the Right Location and Time
Selecting the right spot is crucial for achieving soft, flattering light. Direct sunlight can create harsh contrasts, deep shadows, and overexposed highlights, which may distract potential buyers from the details of the item. Instead, look for areas with diffused light. A north-facing window (in the Northern Hemisphere) or a south-facing window (in the Southern Hemisphere) often provides steady, indirect light throughout the day. If you live in a region with intense sunlight, such as many tropical or desert climates, you may need to use sheer curtains to soften the light further. Conversely, in regions with frequent overcast skies, the cloud cover acts as a natural diffuser, providing excellent soft light without additional equipment. Experiment with different times of day to see when the light is most consistent in your specific location. Early morning or late afternoon often offers softer angles, while midday sun can be quite harsh unless filtered.
Setting Up Your Background
A clean, uncluttered background helps the item stand out and makes it easier for buyers to focus on the product details. While professional backdrops are available, you can achieve similar results with simple household items. A plain white sheet, a large piece of cardboard, or a neutral-colored cloth works well. Ensure the background is wrinkle-free and free of distracting patterns or logos. Place your item on a stable surface near your chosen light source. If you are photographing smaller items, a simple white box or a tray can serve as a makeshift lightbox, reflecting light onto the subject from multiple angles. For larger items, ensure the background extends far enough behind the object to avoid visible edges or corners in the frame. Consistency in your background choice across multiple listings helps create a cohesive look for your online store, which can enhance professionalism and trust.
Positioning Your Item for Best Results
The position of your item relative to the light source determines how shadows fall and how textures are revealed. Generally, placing the item so that the light comes from the side or slightly behind can highlight textures and shapes effectively. Avoid placing the item directly against the window if possible, as this can create a silhouette effect unless that is your intended style. Instead, pull the item back slightly into the room to allow the light to wrap around it. For flat items like clothing or artwork, laying them flat on a table near the window often works best. For three-dimensional objects, consider rotating the item slightly to find the angle that best showcases its features. Use a reflector to bounce light back onto the shadow side of the object. A simple piece of white foam board or even a large sheet of white paper can serve as an effective reflector, filling in shadows and ensuring details are visible.
Camera Settings and Composition Tips
Most modern smartphones and digital cameras are capable of producing excellent images with natural light. To get the best results, keep your camera settings simple. Use the highest resolution available and ensure your lens is clean before shooting. Avoid using digital zoom, as this can reduce image quality; instead, move closer to the subject or crop the image later if needed. Focus on the main subject to ensure sharpness, especially if the item has intricate details. Composition is equally important. Center your item in the frame for a balanced look, or use the rule of thirds to create a more dynamic composition. Leave some negative space around the item to prevent the image from feeling cramped. This space is useful for adding text overlays or for cropping later if needed. Take multiple shots from different angles to capture the front, back, sides, and any unique features of the item. Review your images on a larger screen if possible to check for focus and clarity.
Editing and Finalizing Your Images
After capturing your photos, minor adjustments can enhance their appeal. Most smartphone photo editors allow you to adjust brightness, contrast, and saturation. Aim for a natural look that accurately represents the item. Increase brightness slightly if the image appears too dark, but avoid overexposing the highlights. Adjust contrast to make colors pop, but keep it subtle to maintain realism. If your images appear too yellow or blue due to the time of day, adjust the white balance to correct the color temperature. Crop the images to remove any unnecessary background elements and ensure the item is the focal point. Save your images in a high-quality format, such as JPEG or PNG, depending on your platform’s requirements. Consistency in editing style across all your listings helps create a unified brand identity. Remember that the goal is to show the item clearly and honestly, so avoid heavy filters or excessive editing that might misrepresent the product.
Adapting to Different Environments
Photography conditions vary significantly depending on where you live. In countries with long daylight hours during summer, you may have ample light for shooting, but you might need to manage glare and strong contrasts. In regions with shorter days or frequent rain, you may rely more on overcast skies, which provide excellent diffused light but require careful exposure settings to avoid underexposed images. Sellers in urban areas with limited space may need to be creative with small windows or balconies, using reflective surfaces to maximize available light. Rural sellers might have more space and access to natural backdrops, but should still ensure the background does not distract from the item. Regardless of your location, the principles of using soft, indirect light and a clean background remain universal. By adapting these techniques to your specific environment, you can produce high-quality images that appeal to buyers worldwide. Platforms like Bazarmap show such posts on a free live map, helping buyers discover listings from various regions, but the quality of your photos remains the primary factor in attracting interest.
Conclusion
Mastering natural light photography for online sales is a skill that improves with practice and observation. By choosing the right location, managing your background, positioning your items carefully, and making minor edits, you can create professional-looking images without significant expense. These techniques help ensure that your products are represented accurately and attractively, fostering trust with potential buyers. Remember that consistency and clarity are key to successful online selling. Start by experimenting with different times of day and angles to find what works best for your specific items and environment. With patience and attention to detail, you can elevate your listings and enhance your overall selling experience.
 Basic Care for Antique Clocks Before Selling Them
 Understanding Tax Deductions for Charity Shop Donations